3D PRINTING
Designs, Prints, Parts (Creality Ender series)
parts
Ive discovered that parts are hard to come by locally. So Ive started stocking a large range of items, starting with a heap of spares for my Ender 3 V2 Neo and consumables.
Contact me to discuss
Prints
Please see my google drive folder for prints to date. Anything in the folder can be printed straight away.
Items can be modifed easily and if there is anything you want designed and printed just let me know.
Link below
Ive set up my Raspberry Pi to run OctoPrint, so any purchases will include the STL file, G-Code and a timelapse video of your print
The OCTOprint server has lots of 3rd party add ons. Remote control printing, emergency stop functions (also monitored by AI for warning about possible print failures), alerts for user interaction such as filament changes via sms, telgram, email and the list goes on. Box is my design. Ill be making an enclosure and will have sensors for gas, smoke and temperature. Eventually make it climate controlled with a heater and fan. All ran by the Raspberry Pi and a few Picos (micro computer).
Below are some examples im pround of. I not only 3d print.... but I add LED lighting, motors etc to anything I can to give it that special touch.
Business Cards
Ive done a few versions for my Biz card.
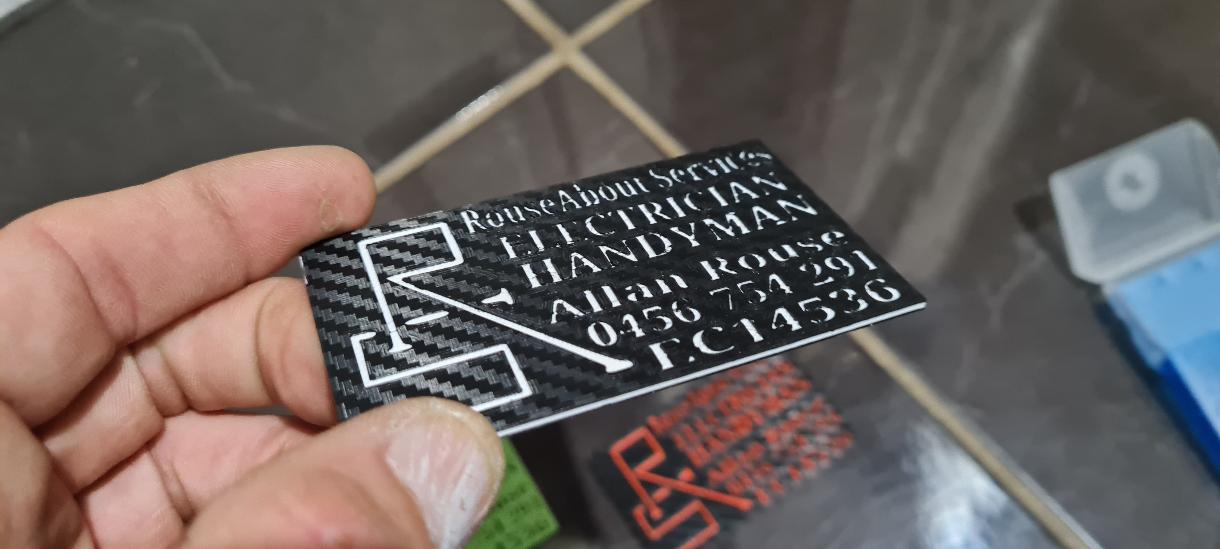
The satndard one I leave after every job and hand to new customers is 3D printed as 2 pieces with an NFC chip fitted between. The NFC chip can be written for a variety of functions but I have mine set up so when you tap your phone it opens a text page with links to my website. Can also click to send me an email or, click ok and it will bring up a pre-populated SMS message and all you have to do is type your name and click send to request a service. Can print in a variety of colours and different patterns like Carbon fibre (shown below), stars, checker plate and my latest is a lazer beam so when you tilt it shows a nice laser effect
I also have an LED MAX matrix version which I carry around with me, is now my Business Card holder
Also an LCD version which dispalys as much informationa s I want on there.
Best viwed on video, link here
ghostbuster Sign
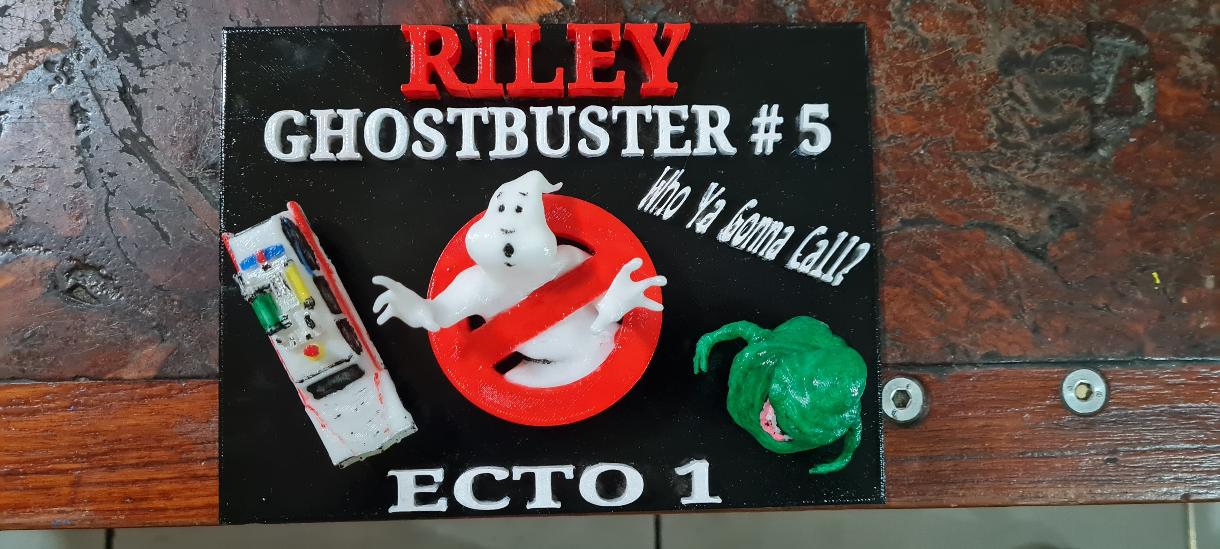
Printed this for my Nephew.
This was actually his design, not bad for a 5yo :)
We learnt about google and how to find and download images. He was both impressed and overwhelmed by choice but eventually decided on the models. He typed out all the text himself.... ECTO 1 had to be there.... and placed the models in Tinkercad.
Printed as 4 pieces in plain white and then hand painted as a project for the 2 of us.
The models are attached to the main sign with magnets so they can be swapped out and I printed a second set of models for him to paint so Uncle Allan could do his own colours for a change :) .
So the sign can look "professional" or "Childish" depending on how he feels and allows many more hours of activities for us :)
The ECTO1 is scalable. This was a little tricky to paint but Im going to do a 220mm long version which will sit on a custom stand and be illuminated from below.
Twisted Heart Vase
The first 3D printed Birthday present I had done, and the first my sister has received from me in a while lol...
A "Twisted Heart" Vase set. And to top it off I also printed and wired up an LED Gift Box and a small rose to go inside.
Gift Box (LED)
An Led Gift Box.
Part of the above present. Printed as 7 parts, glued together with hand painted detail.
The ribbon Topper is the same type of Rose flower but can be desiged as anything you like.
Inside message can be customized and there is a blank plate for ahand written or tag attachement so the box can be used to contain a present, and the receiver can regift it.
Wired with a 20mm 3v battery operating 2 x LEDs with a switch. I could have used a reed switch or similar component so the lights come on when the box is opened but I like how it could be illuminated while closed and left on display.
The box can be sacled to any present (under 220x220x250) but this has been sized for Jewelery, Gift card or simialr small gifts
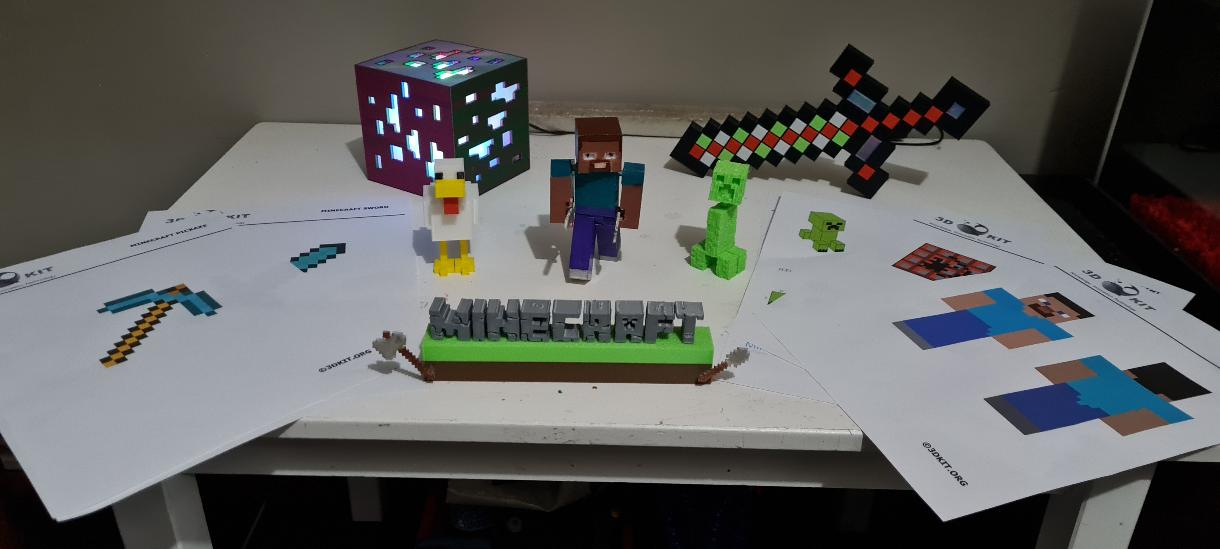
Minecraft set
Started with one thing.... and kept going.
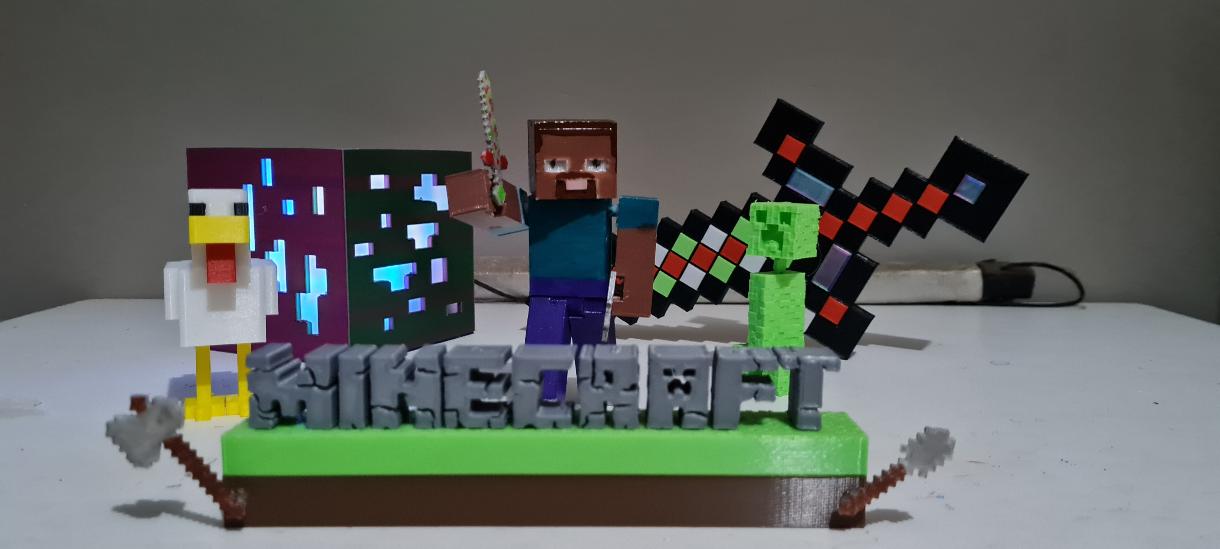
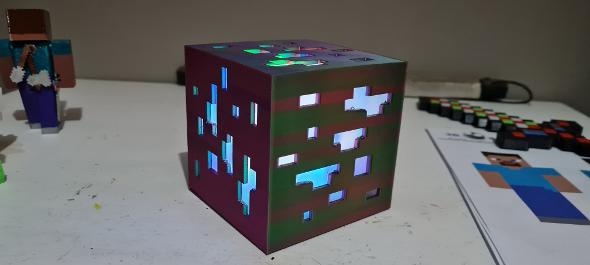
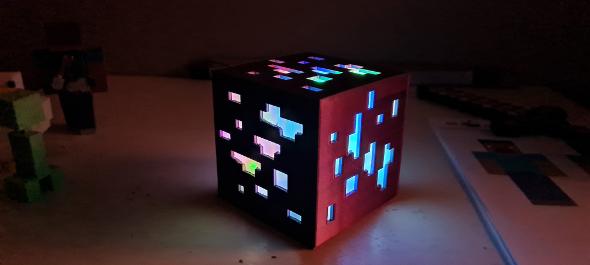
Steve is articulated and hand painted, His tools (4 of) attach via magnets to his hands or back. His "pet chicken" as my Nephew says was all printed in several parts, the creeper is 2 part and head articulates, the Sword is 220mm long (decent for even my hand) and has swappable cubes. The minecraft sign is 11 parts so the letters can be removed and I ftted with 2 samll magnets to display 2 of the tools .
The Cube...... Has been printed in blue-green-red tri chrom. But I couldnt stop there so I purchased my first roll of UV filament and printed 6 x 2mm inserts that act as diffusers. The bottom comes off (held on by magnets) to expose a breadboarded circuit (so i can change or add functions down the line) that has 3 high powered RGB LEDs, 3 Regular RGB LEDs and 6 x UV LEDs. Press the button and place back on the cube to get a nice lighting effect. The UV LEDs expose the difffusers so even after the cube is switched off.... it will retain a blue glow. Or can be exposed to other lighting or sunlight etc. Powered by an 18650 Rechargable Battery, fitted with a 1A charging input and will even charge your phone with a 1A output. And finally..... Fitted with an NFC tag to tap with a phone which I have written to display text to the line of "Hi Im your minecraft Cube" with a bit of a story and description for play. Tag can be re-written by the user with the use of an App like tagmo (avaliable from Google playstore) to perform a variety of operations such as visit links, open apps, display text etc. Or even link to the local address of a raspberry pi, to login and play minecraft.
The lighting was an after thought and the cube was made to be held in the hands so I would do things a little different on a remake. Id certainly add a few tilt or knock switches which would cycle the lights when its moved. And at some point I will scale it up to 220mm as a bedside Lamp and install a bluetooth/remote controlled LED strip or individually addressable LEDs. Id also add a 3A wireless and usb output for a mobile phone charger and a few other features like perhaps a raspberry pico... so I can make it talk or something alike.
I have even included a heap of 3D pen stencils so new tools and friends can be drawn andadded to the set. And Im sure Ill get asked to do an Alex or Evil Steve :)
Starwars X-Wing
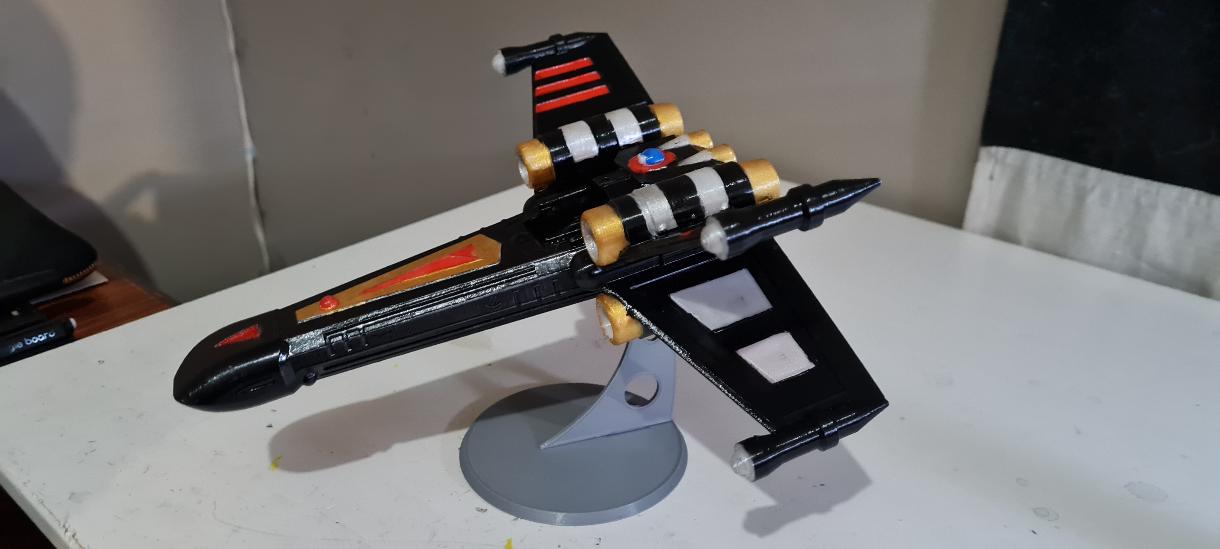
Have done large prints but this was the first full size model I have printed.
Starwars X-Wing. Hand painted with a little R2D2 at his post. With a dispaly stand.
Ill likely cut and fit some Acrylic for a hatch and print a character to sit inside
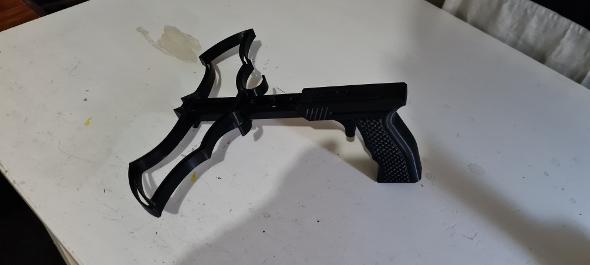
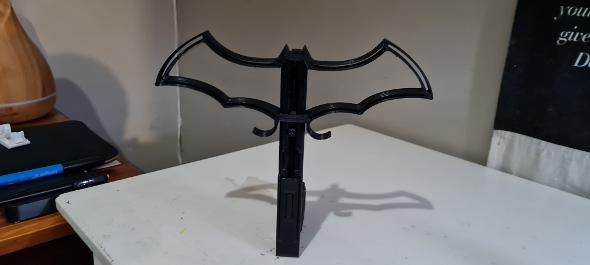
Batman Crossbow (PIP)
Yet to print the arrows, But a print in place working crossbox. Shoots ok with a foam nurf bullet but not made for those. Made to shoot about 2ft for some safety....
But can add elastic bands for the adults
Orbit Lamp/Lantern
I had printed a small version of this vase as a test for the tri colour filament and it turned out great.
It turned out so well I scaled it up to 250mm tall..... But with a few modifications.
Ive added a base and cut holes through to the inner spirals which have Red, Green, Blue and white LEDs. There is also a "projector" at the top and ive made several inserts so it projects shapes or letters onto the ceiling. Battery operated, Rechargeable and can be hung or stand on its own.
Best viewed as a video which the website doest allow me to embed directly so please see it in my google drive by clicking here
Working On
RASPBERRY pi development box
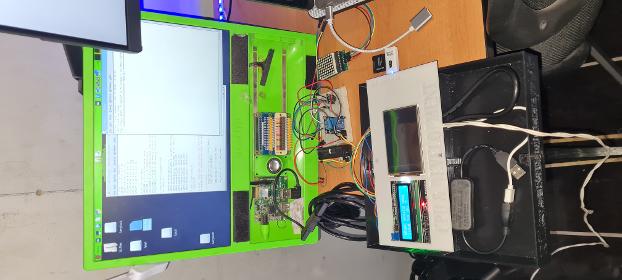
I have had this idea in mind for a long time, tried to make the box out of hand cut and glued acrylic and it turned out very poorly. Its not meant to be a flash box...... Its for development so will get lots of holes cut in it to fit all sorts of sensors. The idea was that I could have a portable development computer, will all of the little bits and pieces I would need to build and demonstarate applications such as remote light switching, security systems, media centres, smart home applications etc.
So in steps the Raspberry Pi. But.... Because Im not really sure what I want in this thing, and the new Raspi4 is out :) .... I thought id try to broaden my nephews interest in Minecraft, and on the pi.... we can learn to code and do all sorts of little projects like a remote pet cam so he can see Cecil (my turtle) whenever he wants.
The box is pretty standard ,The lids slide forward and back nicely. Its seperated into Tools and development sections.
Now superseded by "Desktop Dev" which is a childrens learning computer. See him down the page :)
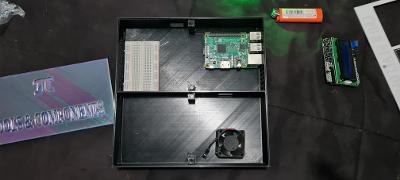
But Ive customized it for him.
The Dev section will contain a Raspberry Pi 3B. cooling fan and bread baord. Ill do a custom breakout harness to the breadboard. The board has 2 High powered LEDs connected so it lights up his name and gives some lightung throught the air vents.
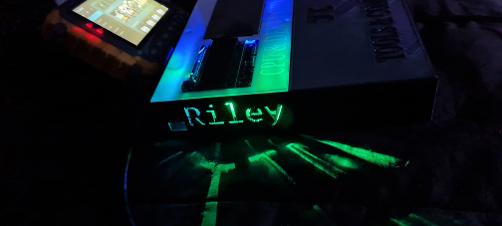
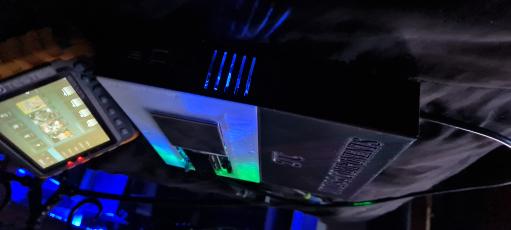
I chose a plain white lid to give that glow effect... I might try a glow in the dark or UV sensitive filament so I can Add UV LEDs pointing differnt dirrections and give different glow effects based on exposure intensity and times... even without the lights on. Fitted with 2 on board screens. A 16x2 LCD and Touchscreen.
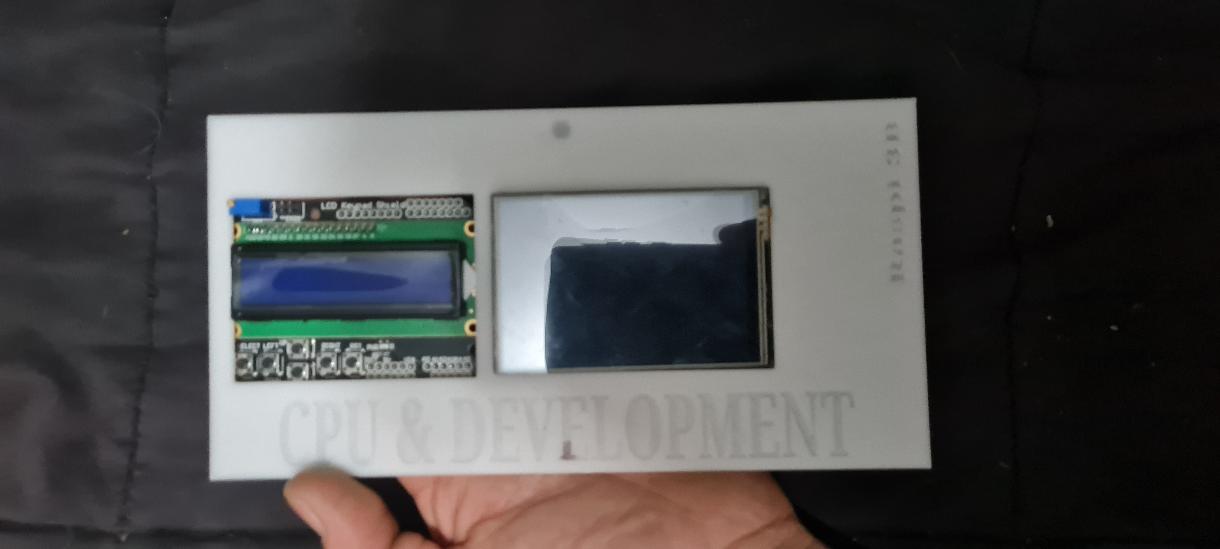
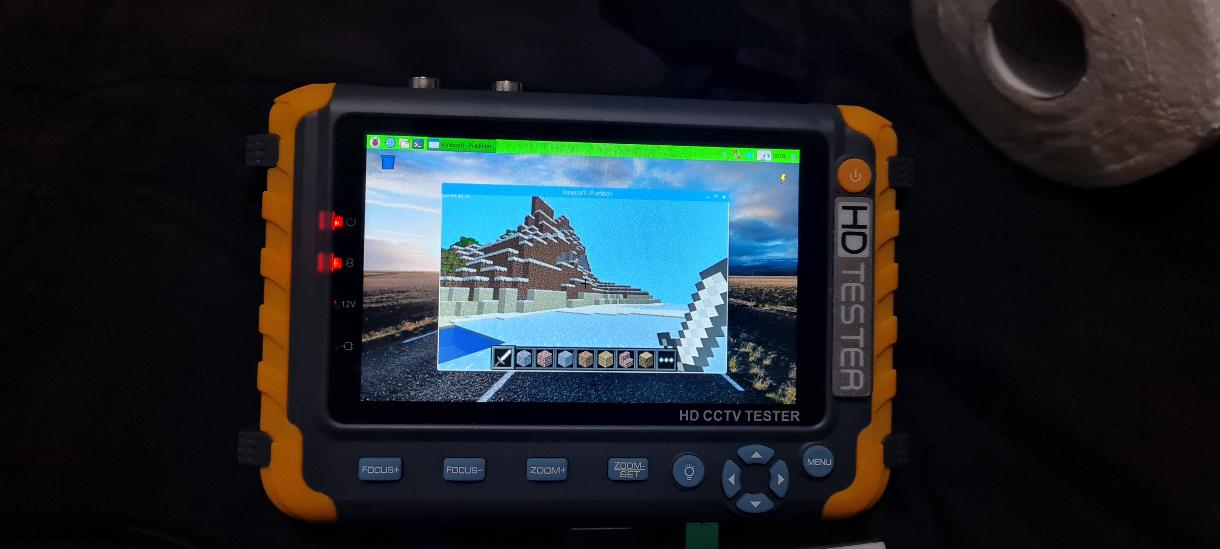
The touchscreen allows basic interaction and display but he likely wont need it most of the time as Ill have a small retractable HDMI lead so It can plug into any TV or HDMI screen. Ive also supplied a CCTV cameera tester to plug into. Shown below running my old media centre (Berryboot so have mulitiple OS running on one SD)
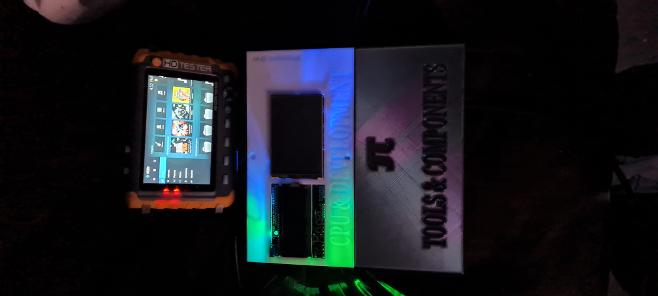
And here it is running Minecraft :)
Powered by a batttery bank in the Tool section, or plug in with a 5V /2A and above phone charger. Ill keep all the little sensors and wire in this compartment as well.
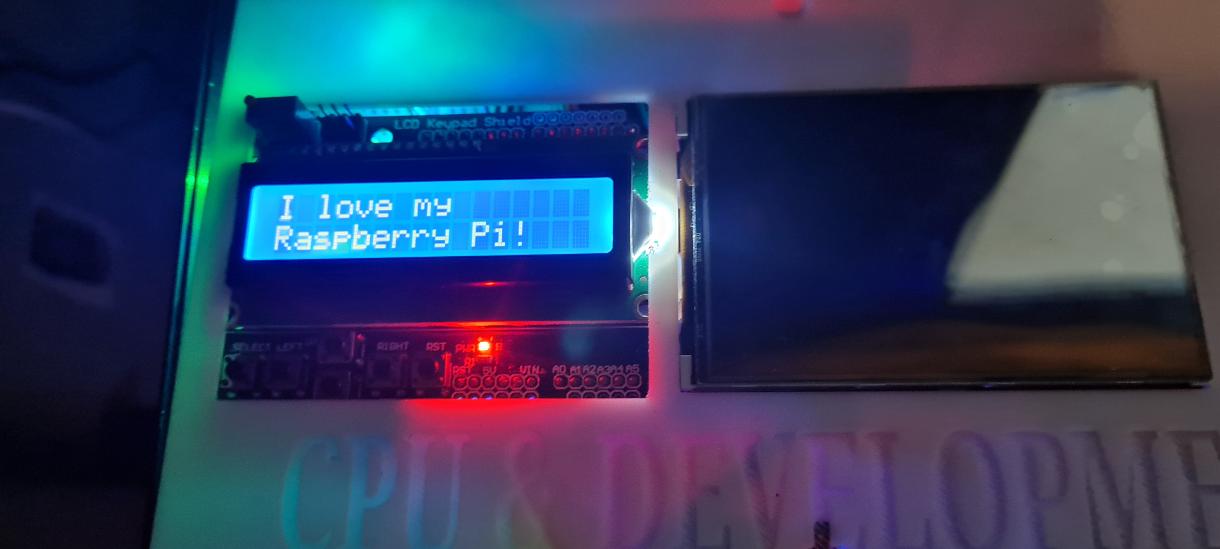
Now... I havent coded for a long time but heres my first attempt to get the LCD working.
And here it is running a basic test script.
Ill set this up so it loads and runs the script on start up. Then, throught the use of a distance sensor, tilt switch, PIR/Motion detector... Ill make it change text depending on if he picked it up, is close or far from it etc.
The Pi can also be displayed on any phone or computer screen through Http and login via any browser. but ll work on the touchscreen next. Other than waiting on some magnets for the lids and Pi mounts (breadboard also magnet mounted) its ready to strat playing with as any additions from this point I plan on doing together. Ill think we will start with some reed switches , Im hoping to set up a speaker and voice so when you open the different lids... its says different things and displays on the LCD.
And because this all stemmed from "Uncle Allan, do you know about Minecraft" and became an interest of his over school holidays......
I had to do something to go with it so.............check out this link to the Minecraft Set with Glwoing Cube
Desktop Dev
Dev (short for development) is a work in progress but I couldnt help but show him off.
I am onto Version 2. Version 1 shown below and now lives with my nephew.
He is packed full of features but from the image......
Led strip for a mouth (V2 Fitted with an 8x8 LED MAX matrix mouth which can display all sorts of text and shapes)
Eyes are Ultrasonic sensors so he knows how close you are.
Nose is a motion PIR sensor so he knows when you come and go
LCD screen to dispaly text (mostly instructions for use)
Blinking LED Raspberry ears (on V2)
He also has a voice which can be triggered by almost all of his sensors (light, sound, motion, distance, Tilt)
His "Brain" is a Raspberry Pi 4 and ive printed him a body, his head is removable, chest is a draw and has liitle rasberry feet :)
You can find a video ofVersion 1 demos at the This link
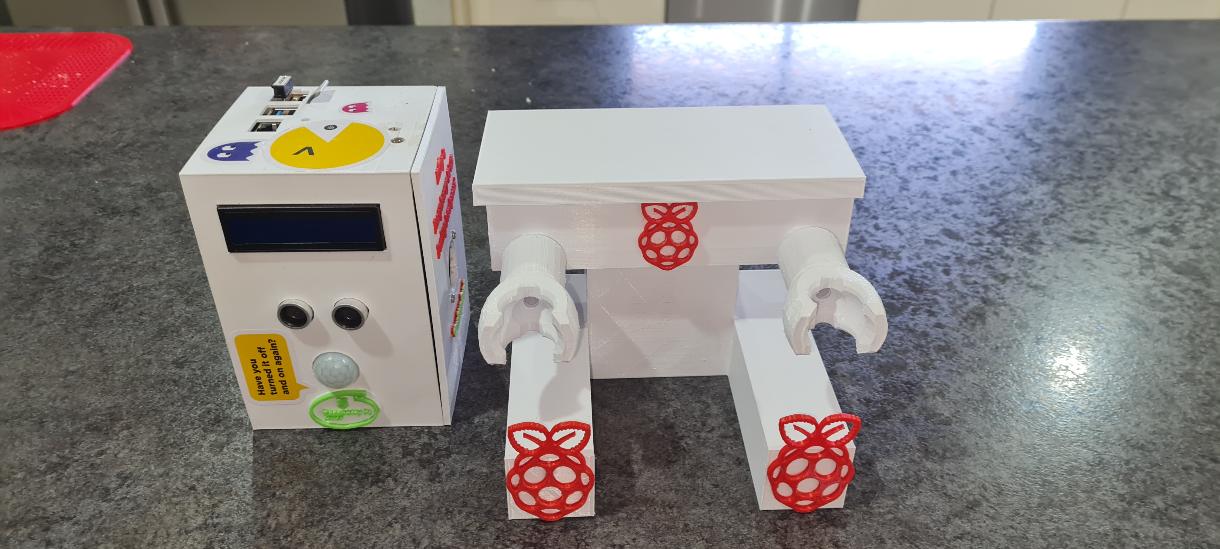
V2 also fitted with a "Sense hat" which features its own LED matrix, Temp, humidity, pressure, accelerometer and he also contains a Raspberry Pi Pico.
A full development Box. He is fully interactive with "scratch" which is a program on the pi, A cartoon Cat to teach kids to code.
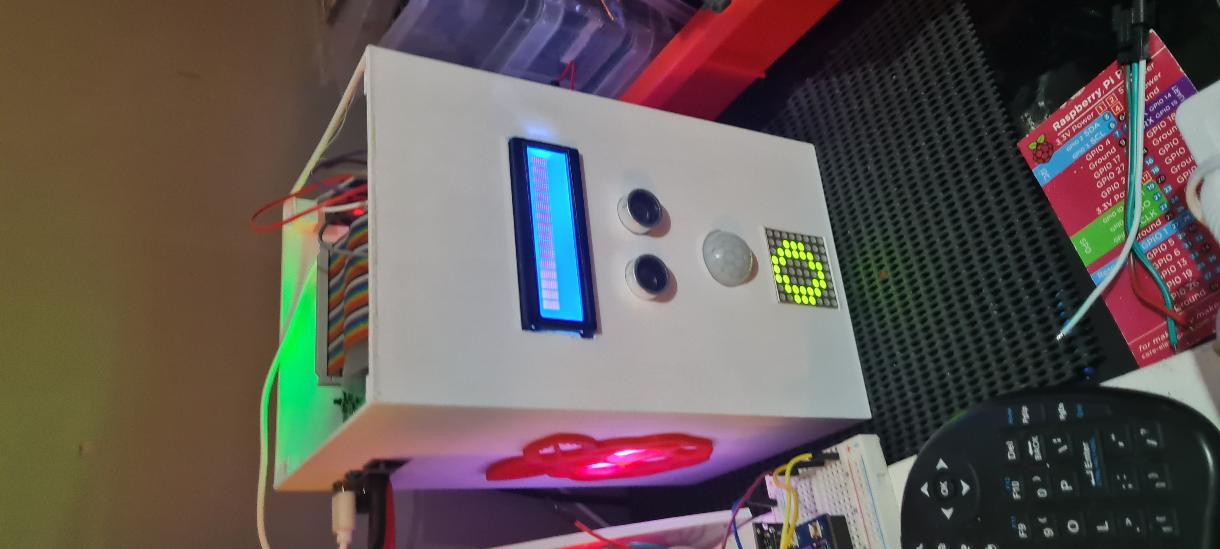
and Many More !!!!
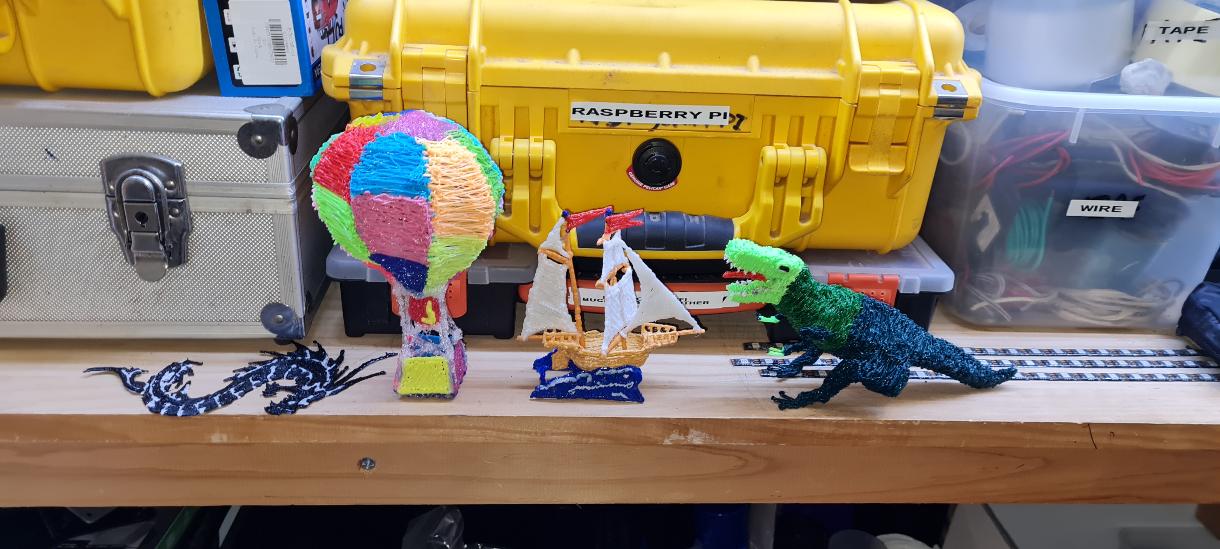
I also like to draw with a 3D pen. I purchased one for my nephew and we had a lot of fun with it so ive continued to draw.... slowly getting there.
A few examples below. Not something people would likely purchase but might tickle someones interest
